
Custom Conditions
The Custom Conditions page lets you create a custom FDP condition and write the PHP logic for it directly from the interface.
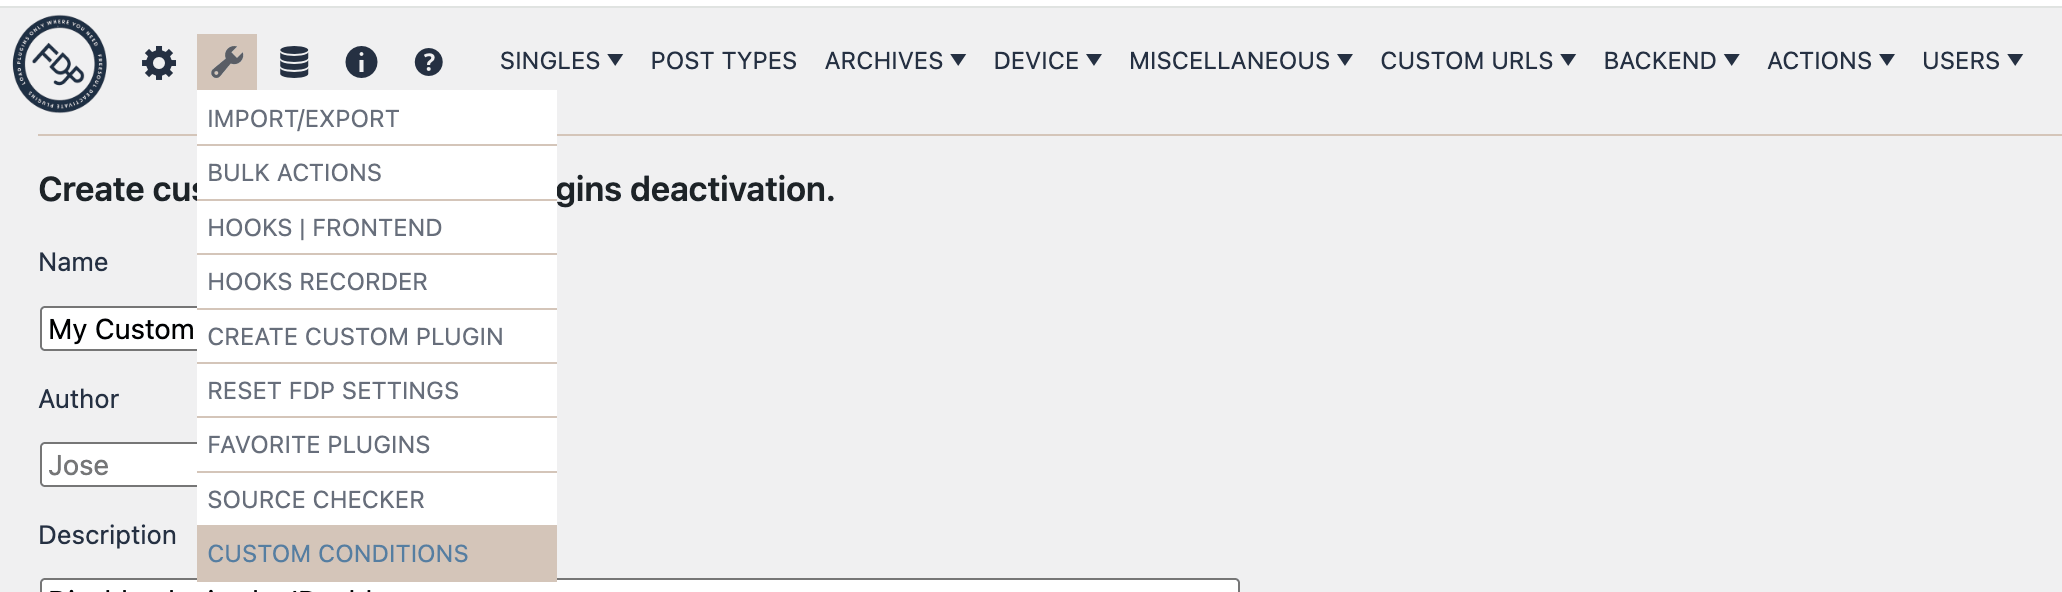
You can find the Custom Conditions page directly in the FDP admin navigation. Open the FDP menu in the WordPress backend, then go to the Tools area (tools icon) and click Custom Conditions.
This feature is useful when the built-in FDP rules are not enough and you want to apply plugin deactivation based on your own PHP conditions.
What this page does
The Custom Conditions page is a condition generator for FDP. It helps you create a dedicated custom conditions plugin and register it inside the FDP interface.
When you use this page, FDP creates:
- a new plugin folder in
wp-content/plugins/ - a main plugin file
- a
conditions.phpfile - an
fdp.jsonfile used to place the new conditions page in the selected FDP menu
The important part is that, after the first setup step, FDP lets you work on the condition code directly from the interface.
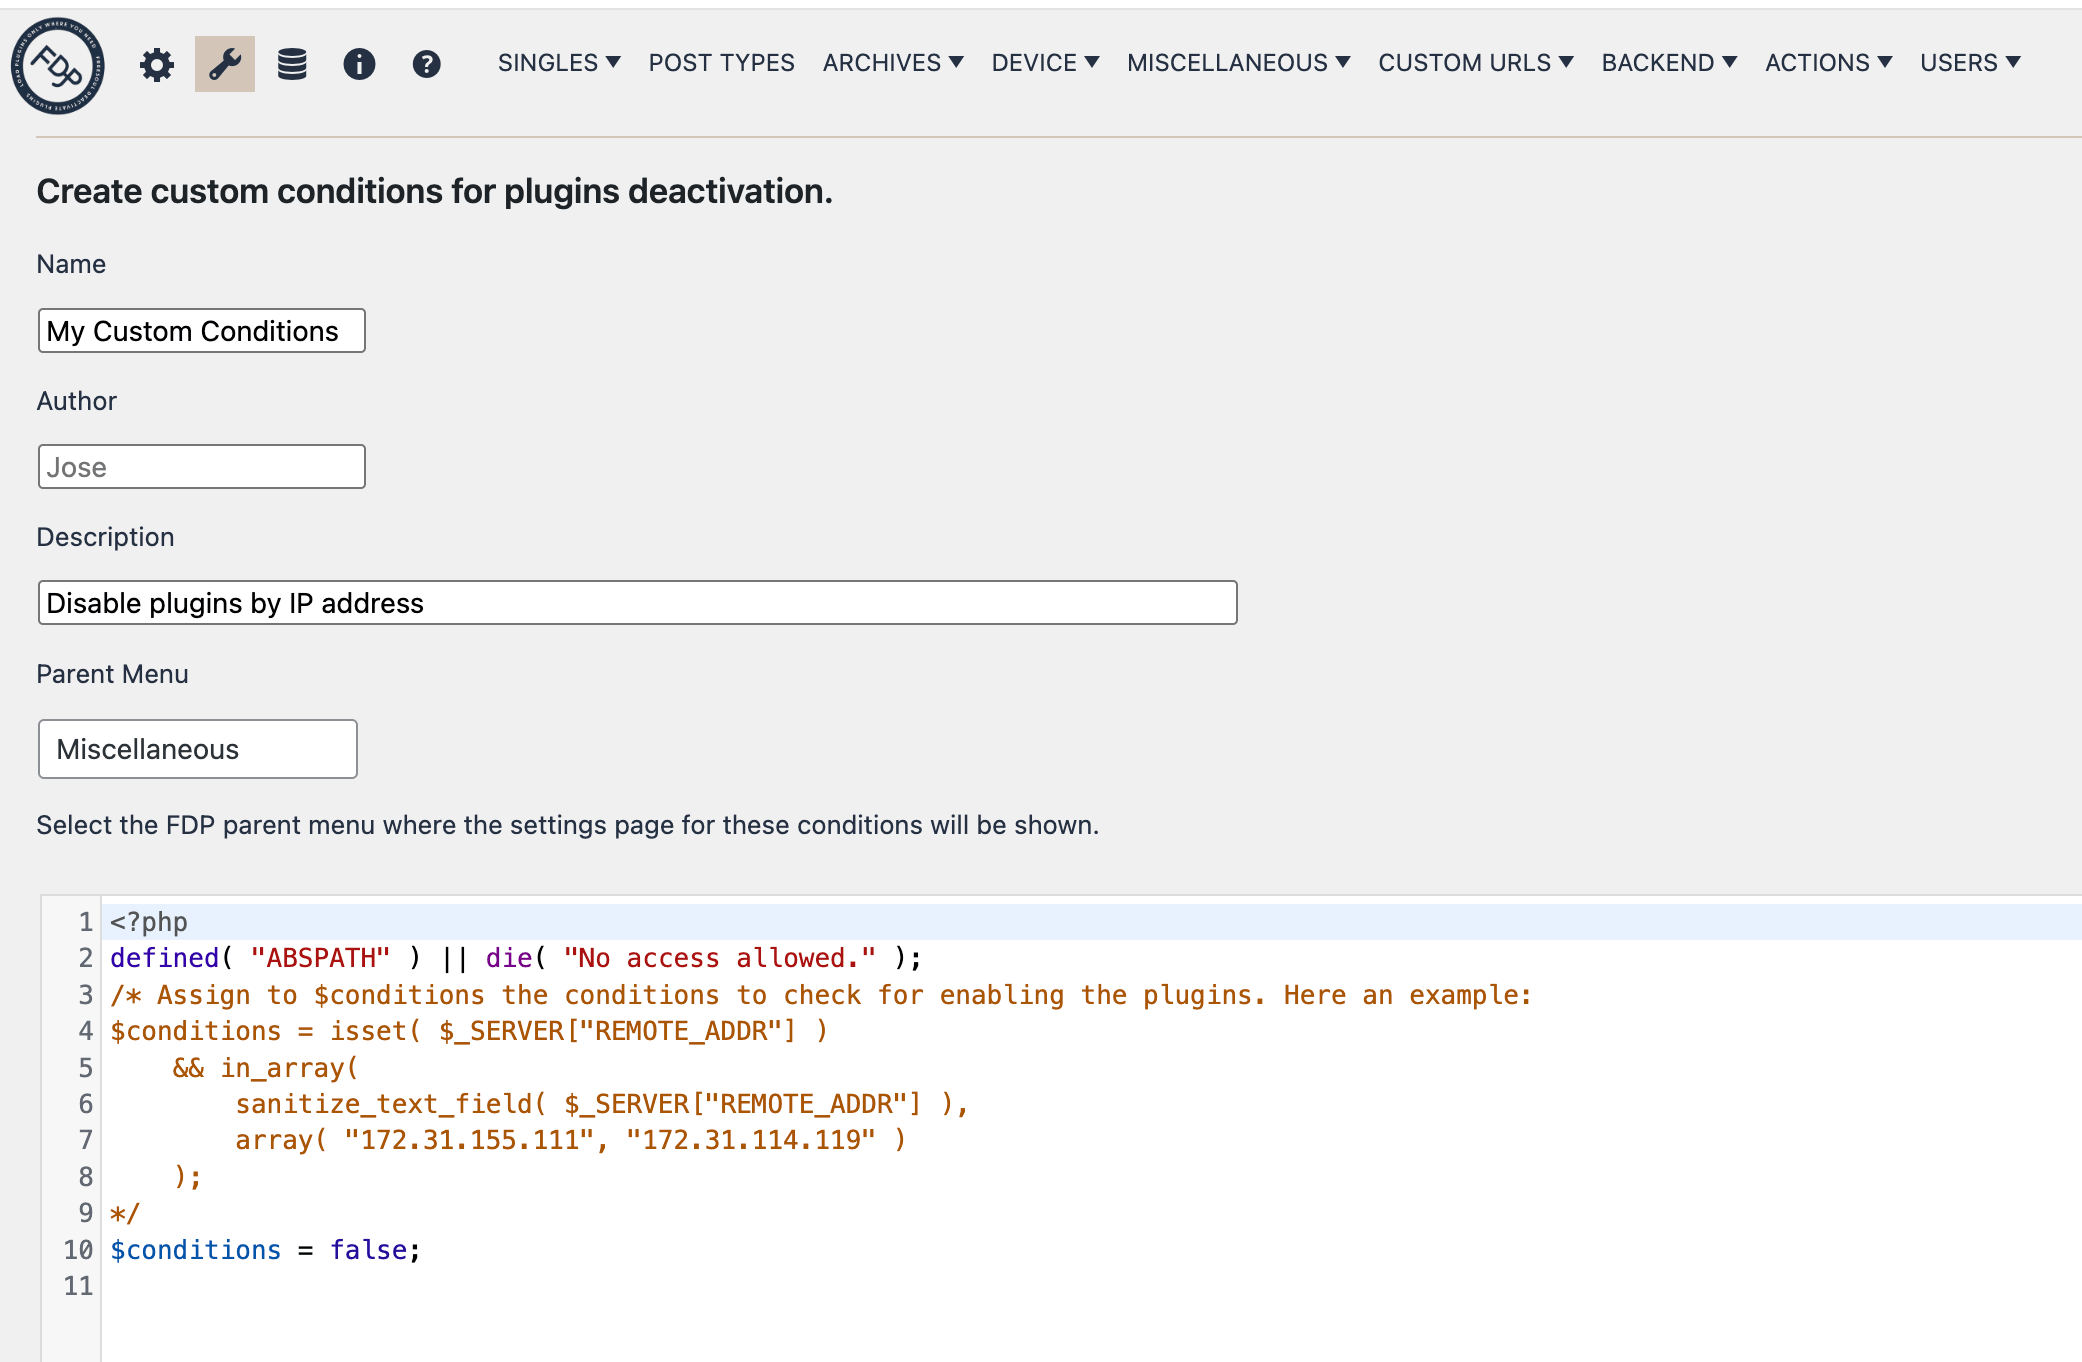
What you can configure first
Before creation, the page asks for:
- Name
- Author
- Description
- Parent Menu
Name
The Name field defines the name of the new custom conditions plugin.
Author
The Author field defines the author name stored in the generated plugin.
Description
The Description field explains what the custom condition is meant to do.
Parent Menu
The Parent Menu dropdown lets you choose where the new conditions page will appear inside the FDP navigation.
What happens when you click Next
When you click Next, FDP creates the custom conditions plugin structure and then presents an editor area where you can write the PHP conditions directly there.
In practice, this means you do not need to manually create the file yourself first. FDP prepares the plugin and then gives you a place to edit the condition code for conditions.php.
This is the key workflow of the feature:
- define the custom condition plugin
- click Next
- write the PHP condition directly in the editor/textarea shown by FDP
- click on Update File
- activate the new conditions plugin
- use the generated condition page in FDP
Writing the condition
The condition code must assign a boolean value to:
$conditionsThat variable determines whether the custom FDP rule should apply.
For example:
- If
$conditionsis true, the deactivation rules attached to that custom condition can run. - If
$conditionsis false, that custom condition does not apply.
Default starting point
FDP creates the condition file with starter code and a default line like:
You should replace that with your real PHP logic in the editor shown after clicking Next.
How to use Custom Conditions
A typical workflow is:
- Open Custom Conditions.
- Enter the name, author, description, and parent menu.
- Click Next.
- Use the editor/textarea presented by FDP to write your PHP condition.
- Save or confirm the generated code as needed.
- Click Activate the new conditions.

- Click Activate on the plugin row with the name you provided in step 2.

- Open the new conditions page inside FDP.
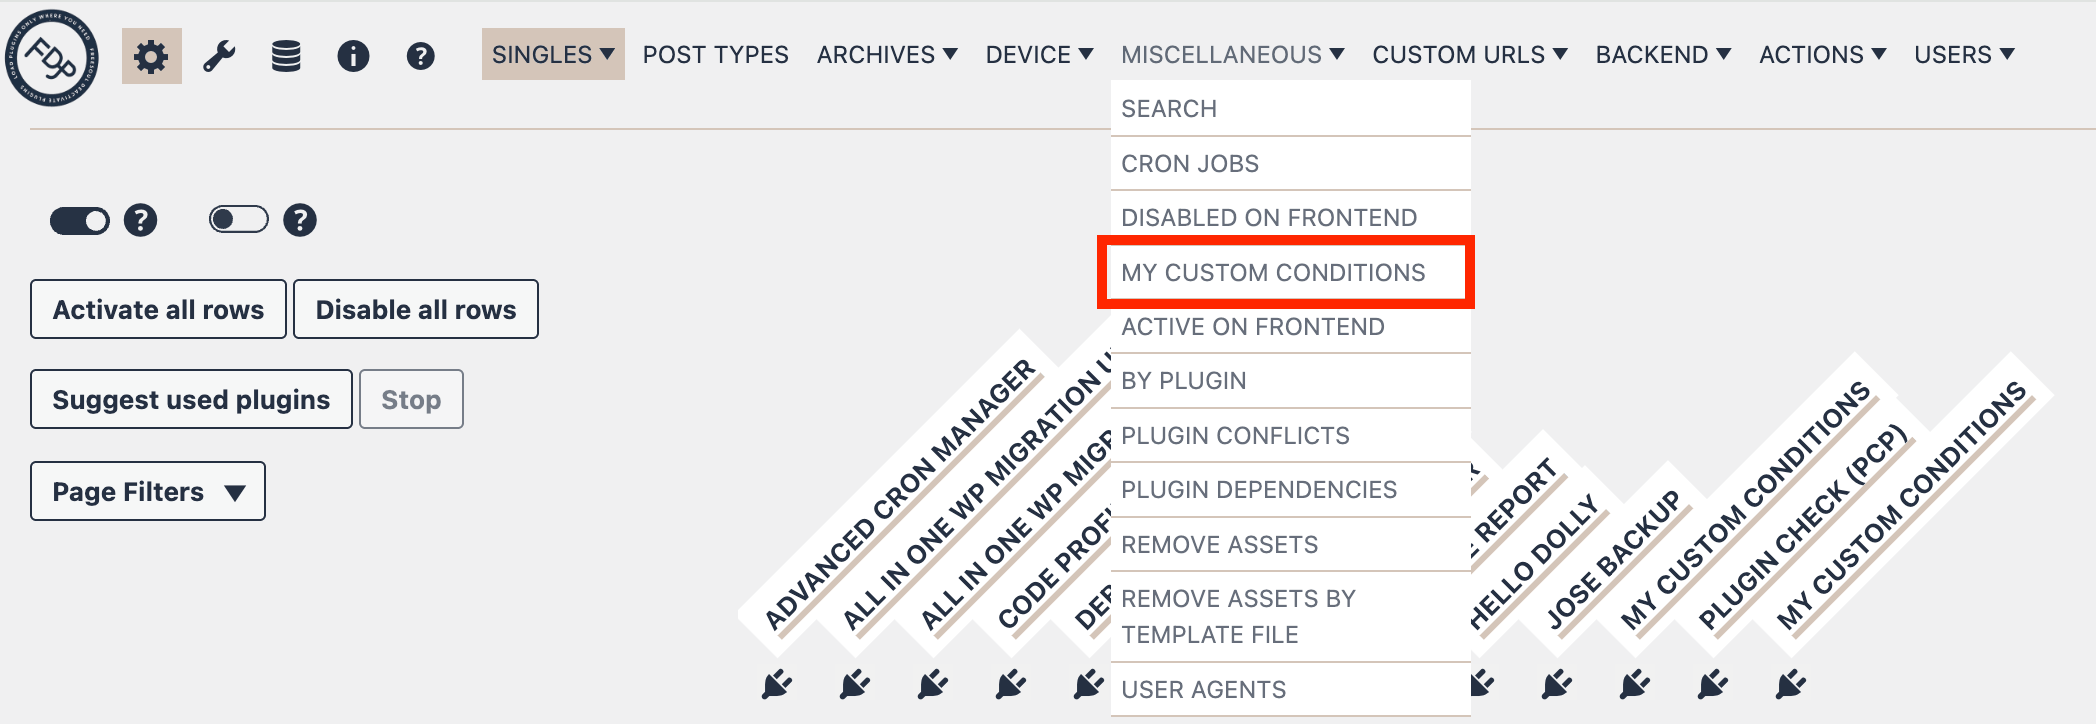
- Select which plugins should be deactivated when the custom condition is true.
Example use cases
Custom Conditions are useful when you want to deactivate plugins only when:
- the request comes from a specific IP address
- a query string parameter is present
- a cookie exists
- a server variable has a specific value
- a custom environment rule is matched
- any other PHP condition you need evaluates to true
Important notes
- The page requires write access to the plugins directory.
- If the plugins folder is not writable, FDP cannot create the custom conditions plugin.
- The condition logic is written in PHP.
- The condition must assign a boolean value to
$conditions. - This feature is intended for advanced users who are comfortable editing PHP conditions.
- Keep in mind that the new Custom Conditions plugin can also be edited with your preferred FTP text editor, just like any other WordPress plugin.
- The advantage of using the built-in Custom Conditions feature in FDP instead of manually creating a custom plugin is that you can use the FDP matrix to selectively disable plugins based on your conditions, while significantly reducing conflicts between your custom code and FDP.
Best practice
Keep the PHP condition short, readable, and focused on one purpose. Since FDP presents the code editor right after Next, it is a good idea to write a simple first version, test it, and only then make it more advanced if needed.
Summary
The Custom Conditions page lets you create a dedicated FDP condition plugin and, after clicking Next, write the PHP logic directly in the editor shown by the interface. This makes it a practical way to build advanced deactivation rules without manually scaffolding the plugin structure yourself.